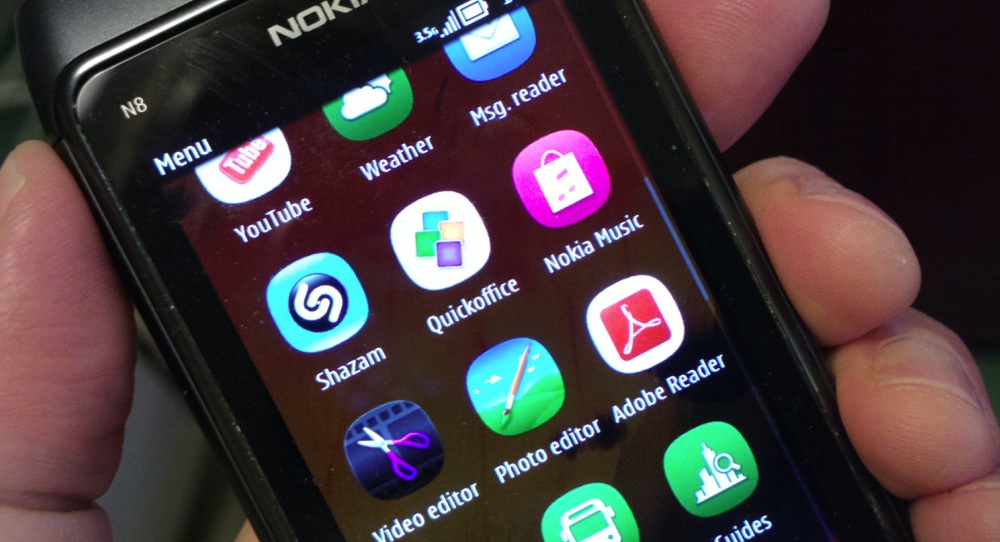
The state of a Symbian phone when you first turn it on is dependent on the firmware that's installed (e.g. v111.xx.xxx), this is stored in a read only area of your phone's flash memory, designated Z:, which is where the OS gets loaded from; and it's also dependent on the sales package software, the extra apps which are (usually) market-dependent and which get preloaded at the factory - games, offers, major third party apps, trials, and so on. It's these latter that were missing if you went for the 'ultimate' reset in my earlier tutorial.
So I thought I'd better at least give you some pointers about restoring the sales package software, in case you decide that you wanted all this after all. All 1.2GB of it (though admittedly that does include some full-fat 'HD' games).

I say 'pointers' because this isn't going to be a blow-by-blow tutorial, mainly because the software we'll be using to put the sales package back on isn't 'end user' software. For obvious reasons.
In fact, I'd better start with some disclaimers:
- Don't do anything like this if your phone is still in warranty - if it is, go make friends with the people at your local Nokia Care Point and hopefully they'll do this for you.
- Don't blame us if something goes wrong.
- The 'Phoenix' software referred to here isn't openly available, which means you'll have to source it via a Google search (e.g. "Phoenix 2011 download") and, again, we couldn't possibly officially endorse you using it. And you should approach likely download sites with all malware defences raised - just in case.
Some pointers, then...
With Phoenix 2011 installed and your device (e.g. the N8 you did the 'ultimate' reset on) powered on, in Nokia Suite mode, and connected via microUSB, start up Phoenix and click on your USB connection in the top-left dialog. Then use 'Scan product' on the 'File' menu. Your phone should be found and shown in the bottom status bar.
On the Tools menu, pick 'Data Package Download'.
Your phone's product code will be shown, click on 'Check availability'. You'll see confirmation of the latest firmware available and the option to download it. Note in particular the option to 'Download optional files also'. Check this - this is the Sales Package software needed.

Yes, it's a big download with the optional files - 1.5GB or so. Set it going, note the download folder and make a cup of tea.
Once downloaded, find the files on your hard disk - in a folder named after the Nokia device name (e.g. RM-596 here, for the N8) and copy the folder into /Program files/Nokia/Phoenix/Products, as shown below:

Now back to Phoenix, use 'Open product' on the 'File' menu. The firmware files then get loaded into the applications.
Use 'Firmware update' on the 'Flashing' menu and click on 'Options':

You'll see that the vital 'emmc' package ('Memory Card Content', itself a bit misleading, since it includes lots of bits that get installed onto the system disk (C:)) is included.
Finally, pick 'Refurbish' from the main flashing dialog and sit back and wait while the magic happens.

Once flashed, your phone will be restarted, as good as new - or possibly better(!) And hopefully with all the sales package apps back where they were before you started experimenting!
____________
I normally say 'comments welcome' after an AAS article, but I've kept this deliberately high level since All About Symbian isn't the best place for detailed help on fixing software flashing issues. There are plenty of other help forums which are better suited! Please keep any comments generic - the mods here aren't your personal firmware support team!
No hay comentarios:
Publicar un comentario