(All but one of the snaps below were taken on the Nokia E6. Note that some of the points below are summarised from my earlier article about getting more from the 808 PureView camera)
1. Light and EDoF
Sunlight is best, of course, so if you're on a day trip out with the family and the weather is somewhat changeable, take full advantage of the moments when the sun's 'out' to grab some snaps of the kids and your location. Sun = Light = Colours. Remember that. In addition, the very reason that Nokia chose EDoF for your device and not auto-focus was at least partly because the EDoF camera units are very small. The downside of this is that the sensor used inside and the aperture through which light enters are both small, too. Now, the lower the light levels, the less well the EDoF 'magic' works, so re-double your efforts when considering photos to take, to seek out as much light on your subjects as possible (though see below for tricks that can help a lot).
2. Direction
In addition to seeking out light, you also have to bear in mind its direction, as hinted at above. I know it's a 'cliché', but most of the time you want it behind you and lighting up your subjects - leave arty silhouette and sun glare effects to the pros with their SLRs (and camera geeks with their Nokia 808s and N8s!)
3. Stabilised
You'll often be using your device in challenging light conditions (dusk, indoors, events) and in such cases shutter speeds need to be longer, which means you need to keep the phone as still as possible. Taking a tripod with you everywhere is usually over the top(!), but stopping yourself wobbling around while taking a photo isn't always trivial - especially if you're in the middle of a field or on the beach and if it's cold or windy. Stand with your legs apart, braced against any breeze, and hold the phone in two hands. My favourite tip is to use a wall or lamppost nearby, pressing your body to it or, even better, resting the body of the phone on it or on one side of it.
4. Don't be afraid to use the on-screen shutter control
Even the steadiest hand in the world runs the risk of a tiny bit of vertical camera movement when depressing a shutter button on the C7 or E7 and, indoors and in low light, it's best to go for the safer tap-to-focus and thumb-tap on the on-screen shutter icon instead. Although this also jogs the phone slightly, the movement isn't perpendicular to the subject direction and so the effects will be much smaller. On the E6, the shutter button is the d-pad and in the same plane as the screen, do disregard this tip!
5. Macro shots will be blurred, so move away slightly
The huge quirk, of course, is that the very nature of Extended Depth of Field means that macro shots (food, flower close-ups, etc) are out. Anything less than 40cm away will be blurred to some degree. You can still get good results by snapping the item concerned (say, a Christmas Cake) at about 60cm instead and then crop in a little in the phone's built-in editor, if needed afterwards. If you're not sure how much 50cm is, think of two rulers end to end between the subject and your EDoF-equipped phone.
Here's a good example of what you can do. The frosty branch was about at 35cm, just inside the 40cm limit, but you have to look very closely to see that it's not quite crisp. With a more scenic backdrop than suburban Reading, this could have been a great photo(!):

6. No 'Bokeh', but revel in your new flexibility!
Since everything beyond 40cm away will automatically be 'in focus', so there's no way to do arty 'bokeh' effects, or even to distinguish 'depth' of any kind in your snaps. Get over that fact though, and you can take a whole new class of shots, photos in which foreground and background objects and scenery are all crisp at the same without having to make the usual agonising choice 'do I focus on the foreground or the background?'
Here's a good example, albeit still with fairly mundane subject matter...

7. Provided you can keep the phone super-still (braced), don't forget Night mode
'Night mode', as it sounds, is for keeping the sensor exposed for two to three times as long (typically) - more light makes its way to the pixels and the scene is better filled out and detailed than if the camera software is left on 'Auto':
[as with most of the example photos on this page, click any to download the original or enlarge in your browser]

And then again on 'Night mode':

You don't have to go and buy a tripod, don't worry. Just rest your phone on a bollard or lamp post or wall and you'll be fine.
8. Need to take party shots? You need to use 'high' ISO!
Evening social shots, of friends, typically moving and in lowish light, are the hardest thing you'll ever have to photograph with a 'phone'. Although the EDoF cameras in the E6, E7 and C7 don't come with Xenon flash to freeze the moment, they do some with a very important setting which you can tweak.
By tapping on the '...' menu and then setting the ISO to 'high' (see here for all about ISO and why it's important), you can go from this:

to this:

The first shot, with ISO set to 'Auto', automatically used a shutter speed of 1/16th second; the next, shot with ISO set to 'high', used a shutter speed of 1/50th second, three times faster, meaning three times less chance for subject movement to cause blurring in the image. This should be your number one setting to enable when heading into a low light event with these cameras...
9. Quick framing to sort exposure
Although I recommended diving into the settings menus above to tweak ISO, most of the time you won't need to go there at all. Exposure is a good example. Here's a shot of a church in the sun:

It looks OK, but it was a lovely sunny day and I really wanted to capture a bit more of the blueness of the sky. What happens is that the EDoF camera takes its exposure from the average brightness across the frame, in this case mainly the shady front of the church, with the result that the sky is over-exposed. By reframing ever so slightly, to get a tiny bit more of the sky in the shot, the auto-exposure did its calculations differently and I got the nice blue sky I wanted, without losing significant detail from the church in the foreground:

10. Dirt
Whatever camera phone you own, there's one common factor which can ruin every photo and video you take - fingerprints and other dirt or dust on the camera glass (it's actually scratch-resistant plastic on all EDoF devices, interestingly). A brief wipe on a clean tissue is all that's usually needed - try not to use a coarser, non-absorbent section of t-shirt, as this can often smear any finger grease rather than remove it.
11. Natural
It's all very well taking posed photos of people, but the problem is that they'll always look.... posed. In addition to getting the standard posed shots at events, use the fact that you have a phone-mounted camera to get up close with subjects and use the fact that you have an EDoF device that doesn't have any focus delay at all. Get your subjects in the viewfinder, wait for the 'posed' expression and then distract them by making them laugh ("Well, that's a dopey expression!" or similar?) and then snap that shot. Or indeed several. 80% of the impromptu shots you take like this may will be complete rubbish (eyes closed, wierd facial contortions, etc!) The other 20% will be gems, possibly better than any of the 'pro' posed photos.
12. Don't feel inferior
Just because the guy next to you has a Nokia 808 or the girl next to you has an iPhone 5, don't feel inferior because your phone has an EDoF camera. Armed with the tips above and using EDoF's main benefit to your advantage, i.e. snap anything without any setup time - no focussing needed, everything's instant, there's no reason why you shouldn't grab just as good photos from an event or occasion.
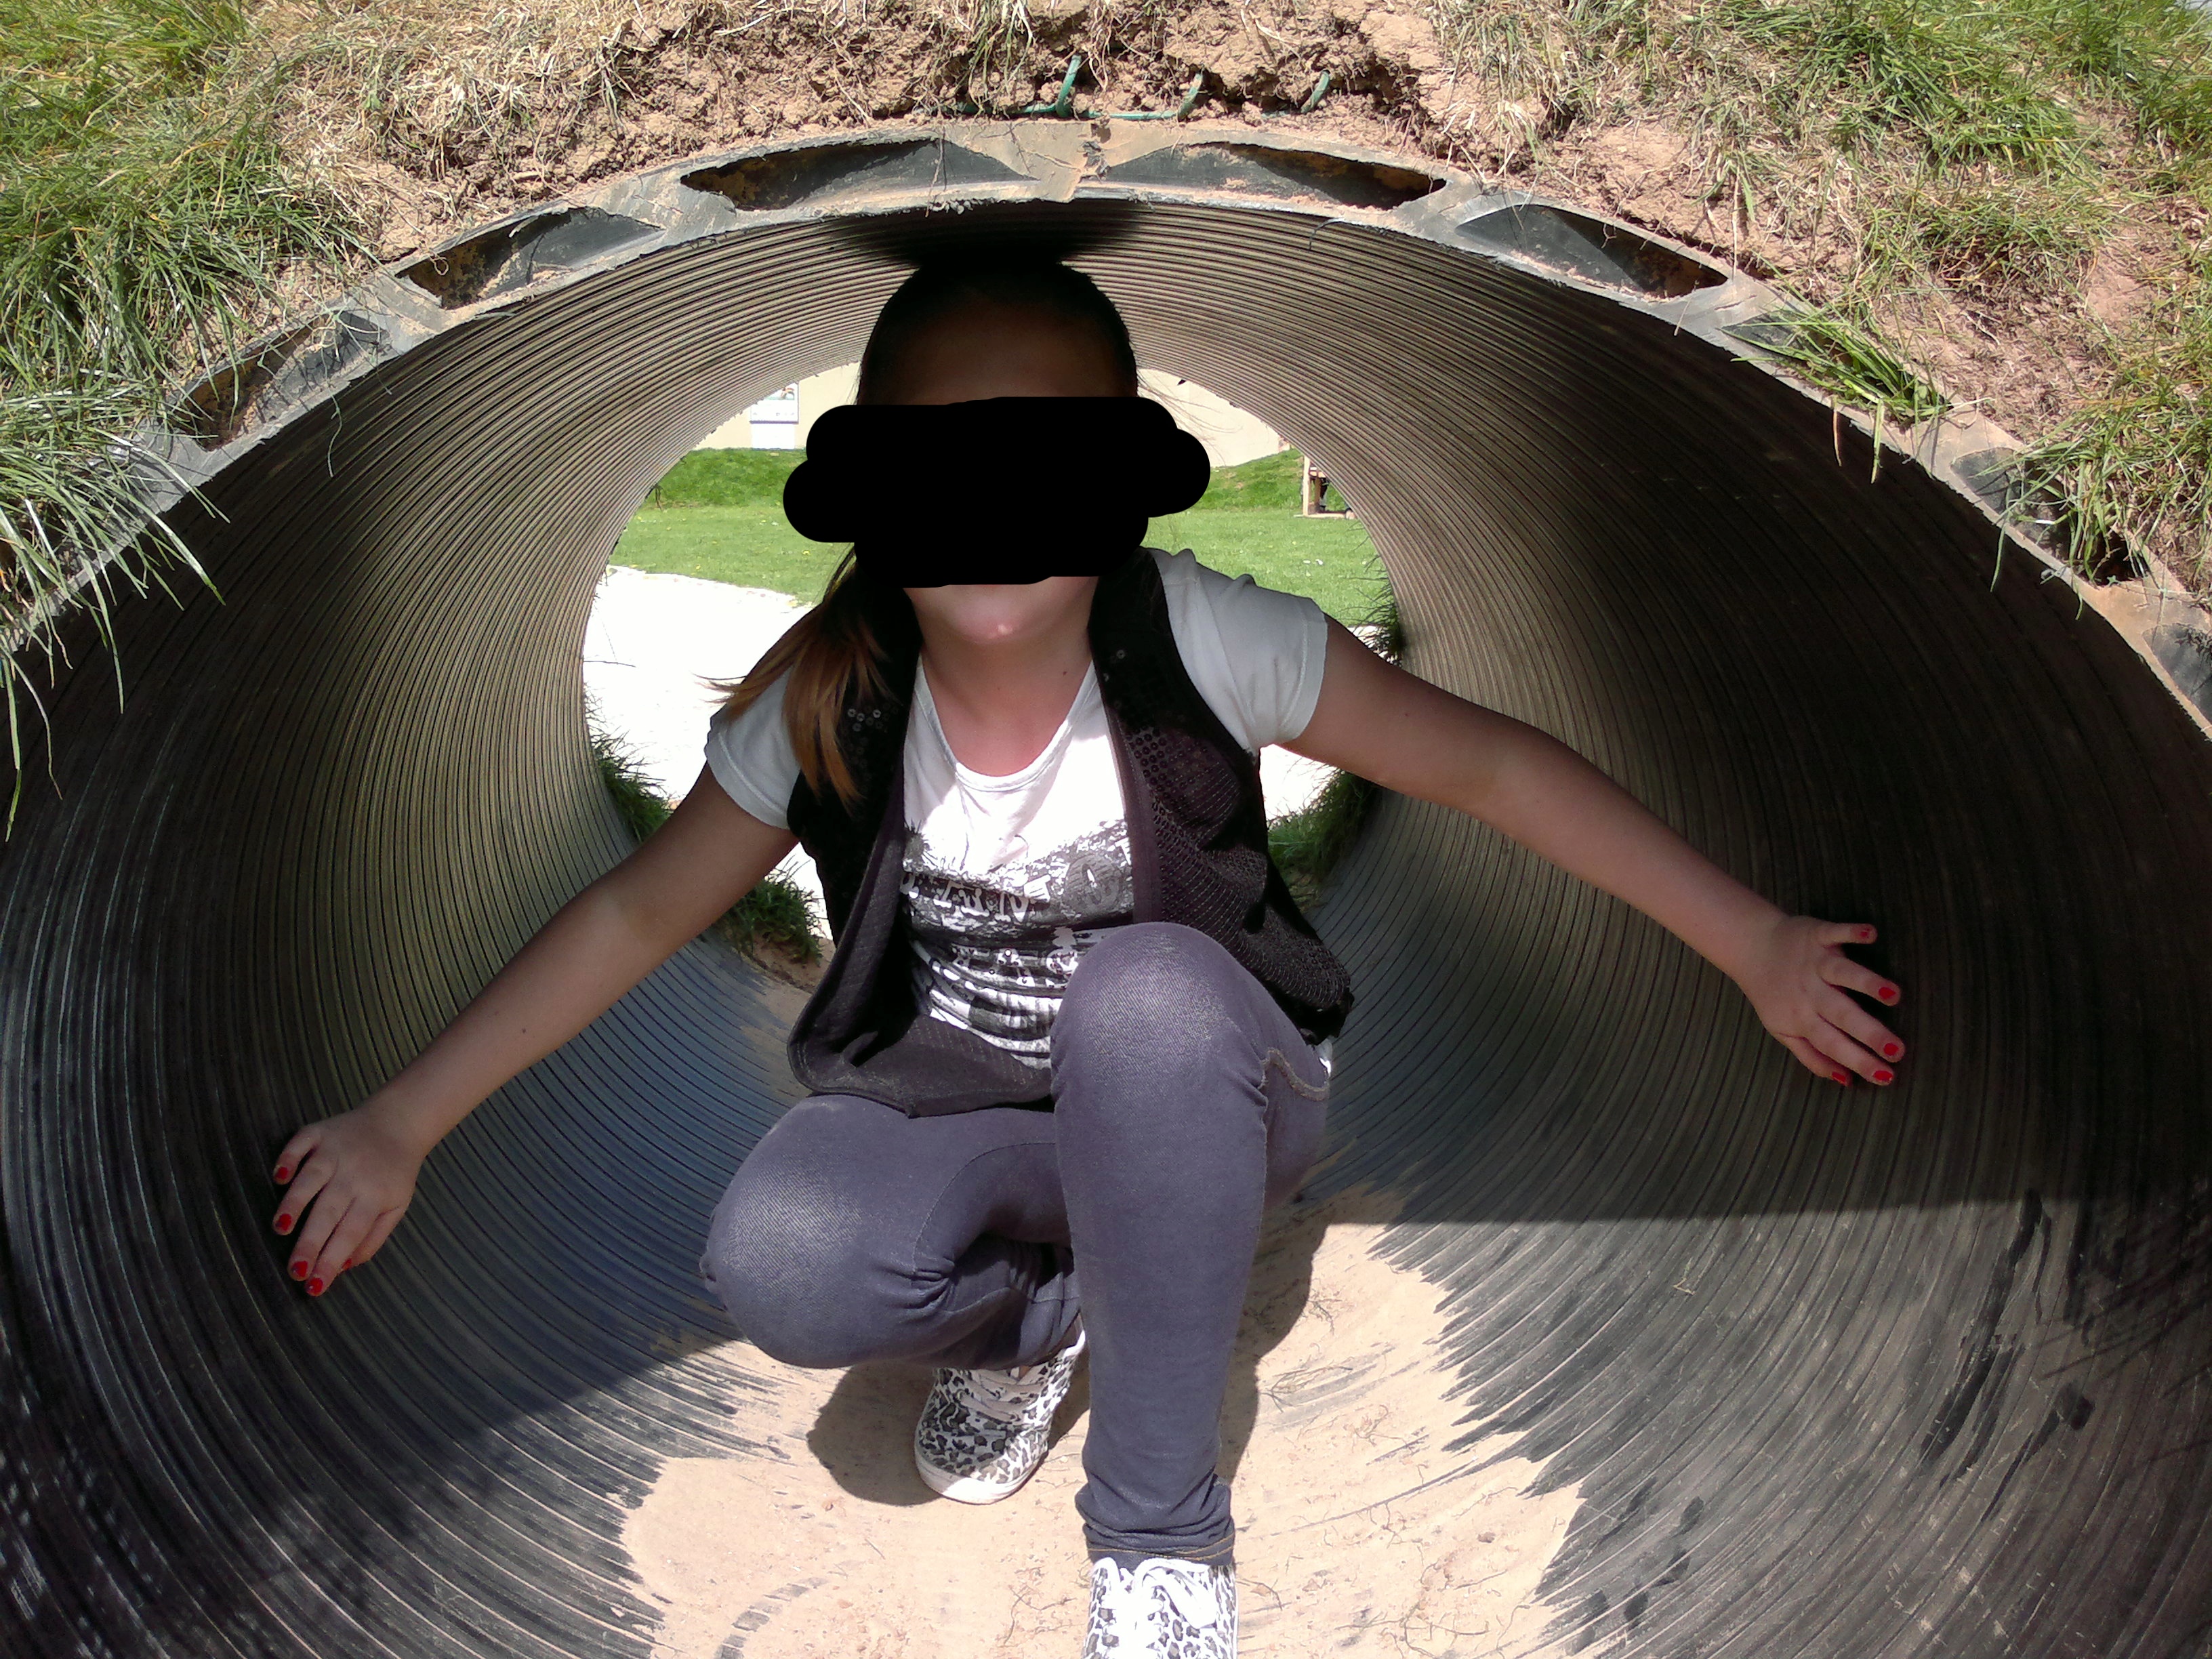
The shot below is one of my favourites (with face blocked out for obvious privacy reasons), my daughter was only in the tunnel for a second or so - "Hold there a sec!" I said and snapped this off with my EDoF Nokia E7. No focussing or exposure issues, just a great snap. Which is what EDoF is all about.
__________
Happy EDoF snapping!
No hay comentarios:
Publicar un comentario