Bokeh is defined as 'artistic blur', caused by skillful use of depth of field, to emphasise part of a photo against the background. Here's a good example taken on a DSLR, from the same Wikipedia article:

Quite dramatic, as I'm sure you'll agree. The bokeh blurring is made possible because of a concept in photography called 'depth of field'.
The concept of depth of field is an odd one, but it's important to understand. In theory, it shouldn't exist, since the Nokia 808 camera focusses on a particular distance and that's the bit/slice of the photo that should appear sharp, everything else in front of that subject and behind it should be progressively blurry. However, even on excellent cameras, the scale of sensor pixels and optics mean that there's a bit of leeway in what 'sharp' means in practice - take a photo in good light of a subject at 2 metres and there's a good chance that, although not perfectly sharp, most of the background will also be 'acceptably' clear. And this turns out to be what 'depth of field' refers to - the range of distances, given the current focus point and light conditions, over which subjects appear 'acceptably' sharp.
How much you seek to avoid or embrace 'depth of field' effects depends on what you want. EDoF phone cameras famously use hardware and software tricks to achieve massive depth of field, eliminating any need to focus. But with the Nokia 808 PureView you will hopefully revel in the chance to take perfectly-focussed, crystal clear shots of people and things, with a slight artistic blur to the extreme foreground and background.
The photo above, a classic use of bokeh, was made possible using a large, long lens, with huge effective aperture, producing a depth of field of only 30cm or so even at this distance, which is why the photo is so dramatic. Armed even with the larger-than-usual optics on the Nokia 808, we're still dealing with a relatively tiny lens and the depth of field at this distance is rarely less than several metres. The solution is to get closer, much closer - effectively the only bokeh shots you'll take on the 808 are macro ones.
(Layout note: in each example below, click the image to download the original 5MP version)
On the N8 (in 'Close-up' mode), macro photographs can be taken down to about 10cm (depending on light). The 808 PureView's wide angle lens and optics mean that 'Close up' mode's minimum is more like 12cm, but the secret I want to let you into here is to then use the PureView zoom facility to get 'closer', in terms of field of view. I know, the idea of using 'zoom' to photograph something that's less than 30cm away is bizarre, but it works brilliantly.
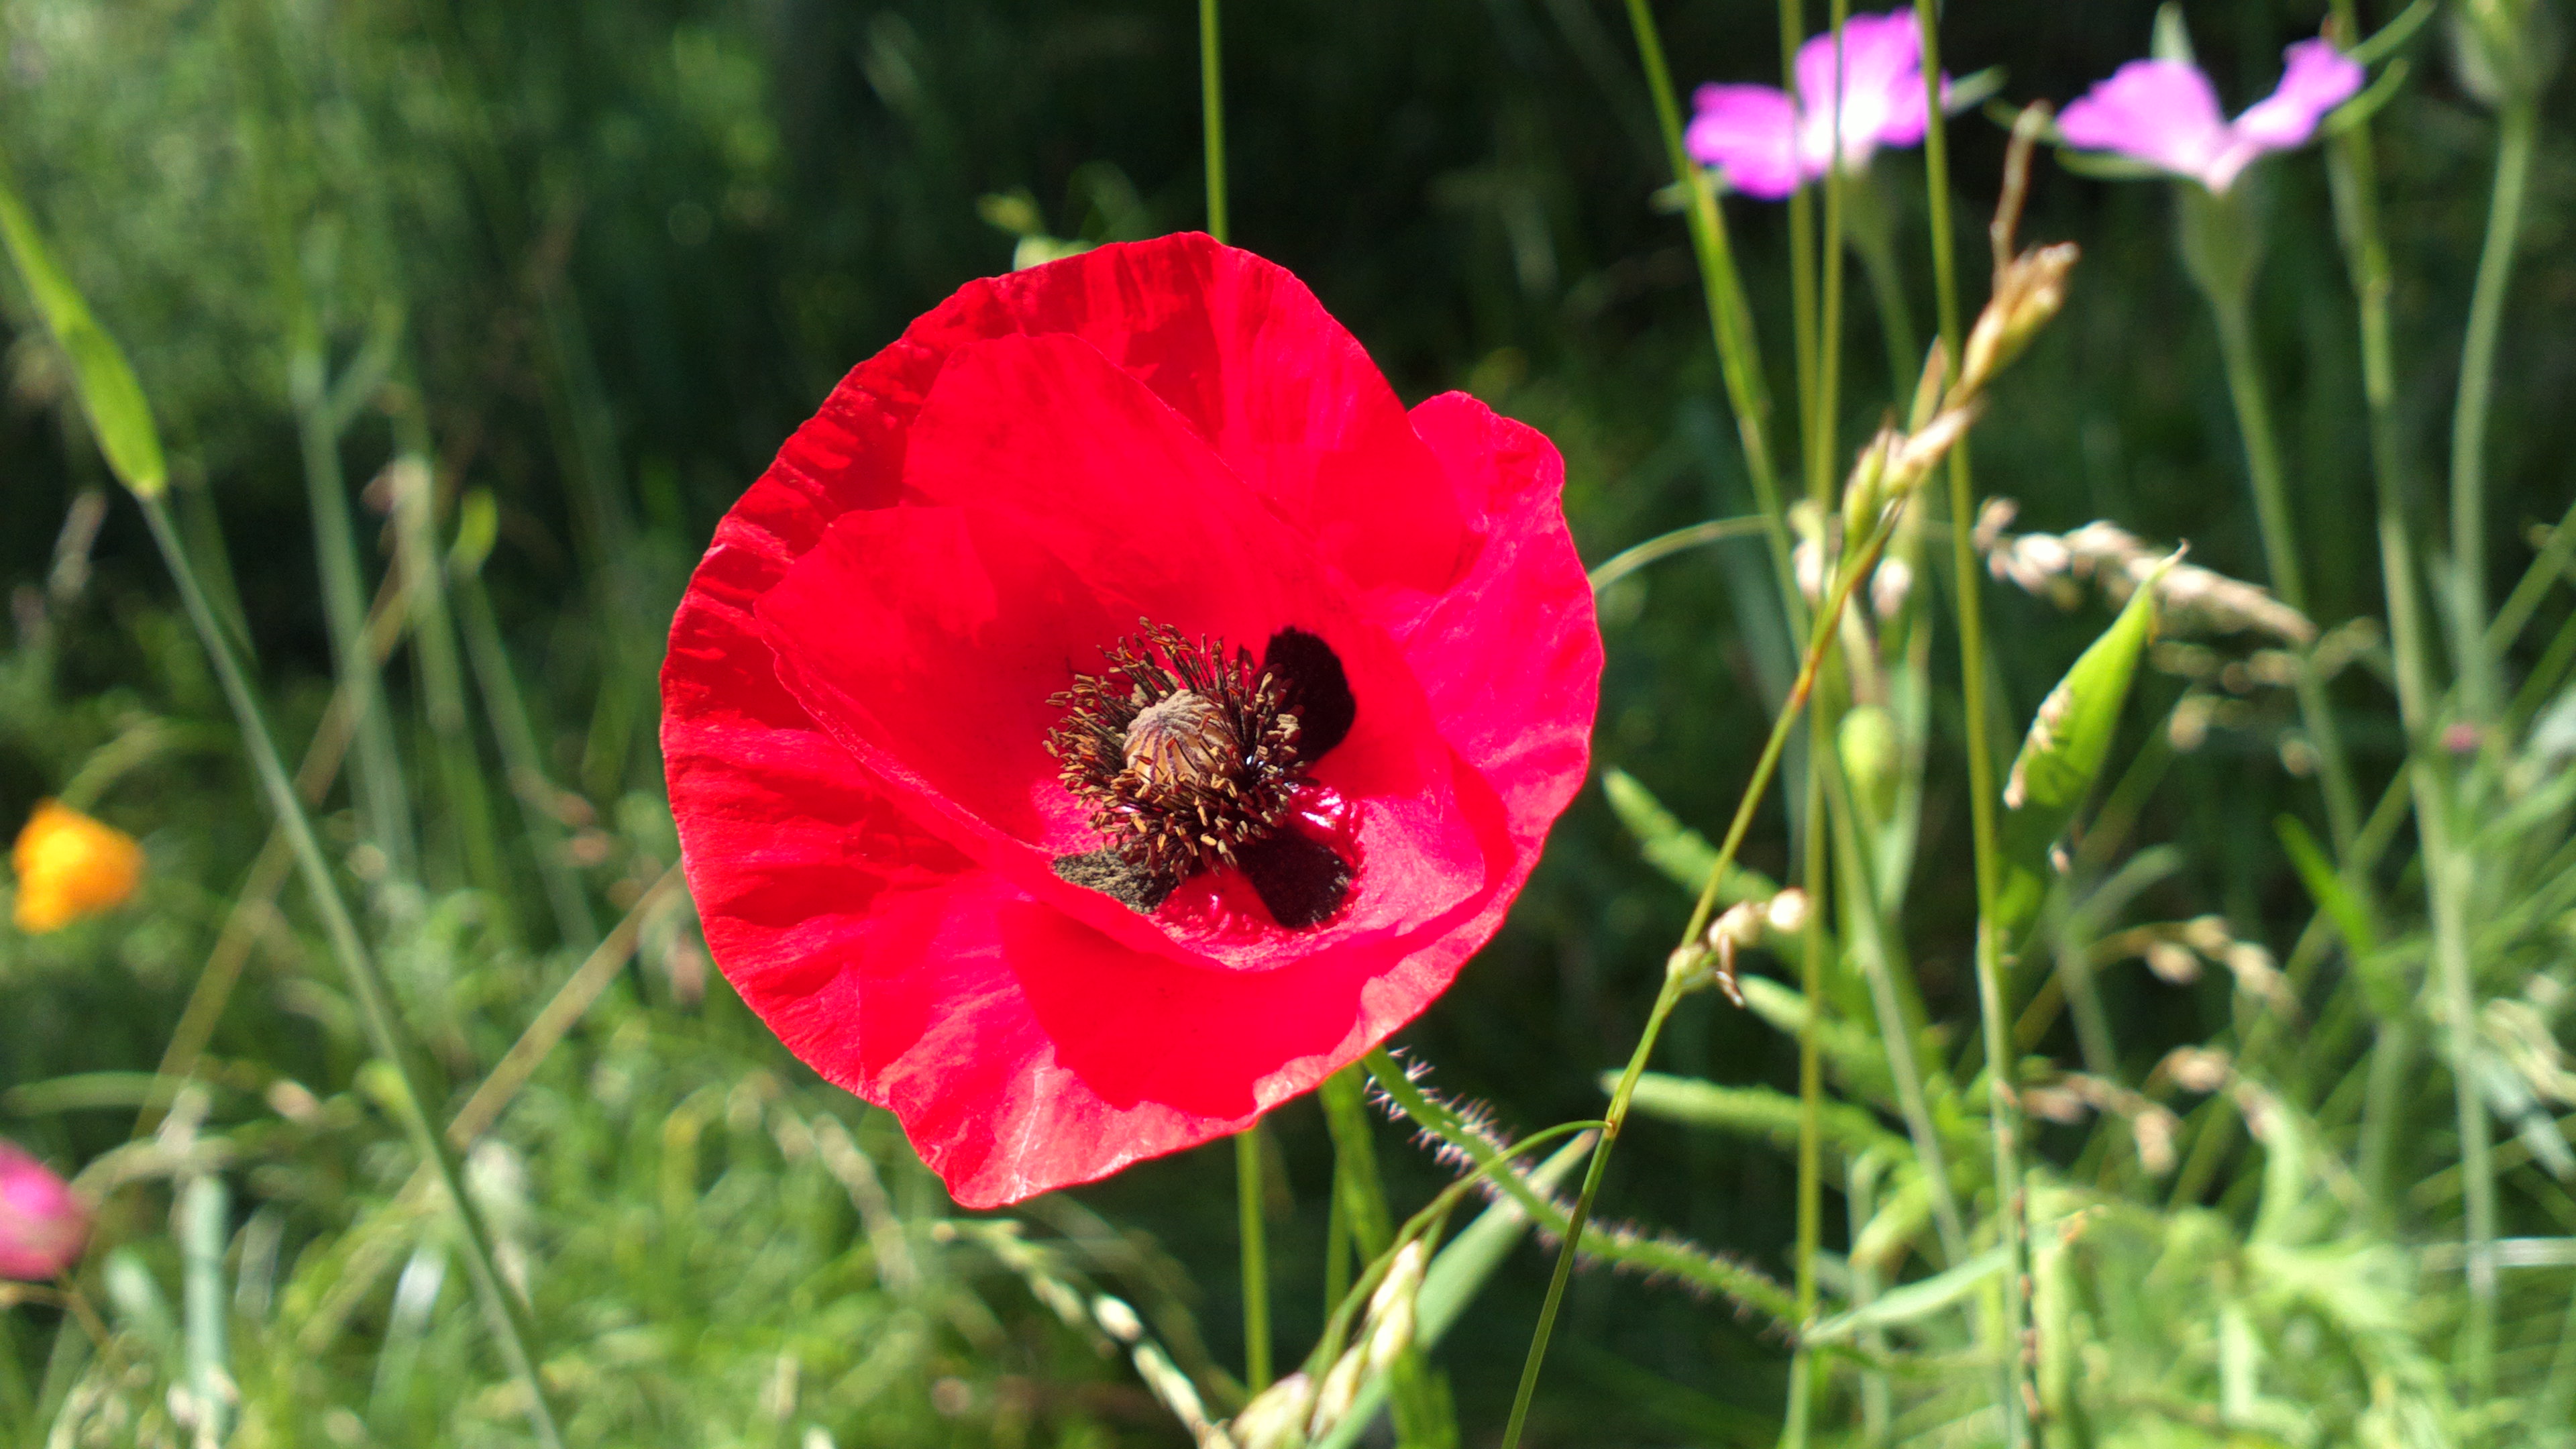
And, just as with traditional optical zoom, focussing on a macro subject reduces the depth of field, meaning that, even though this is a phone camera, you can get some stunning bokeh shots as shown here. Although I normally prefer focussing with the shutter button, for really crisp PureView macro shots it's best to use the 'touch-to-focus' facility and tap on the exact spot on the foreground object that you want to highlight.
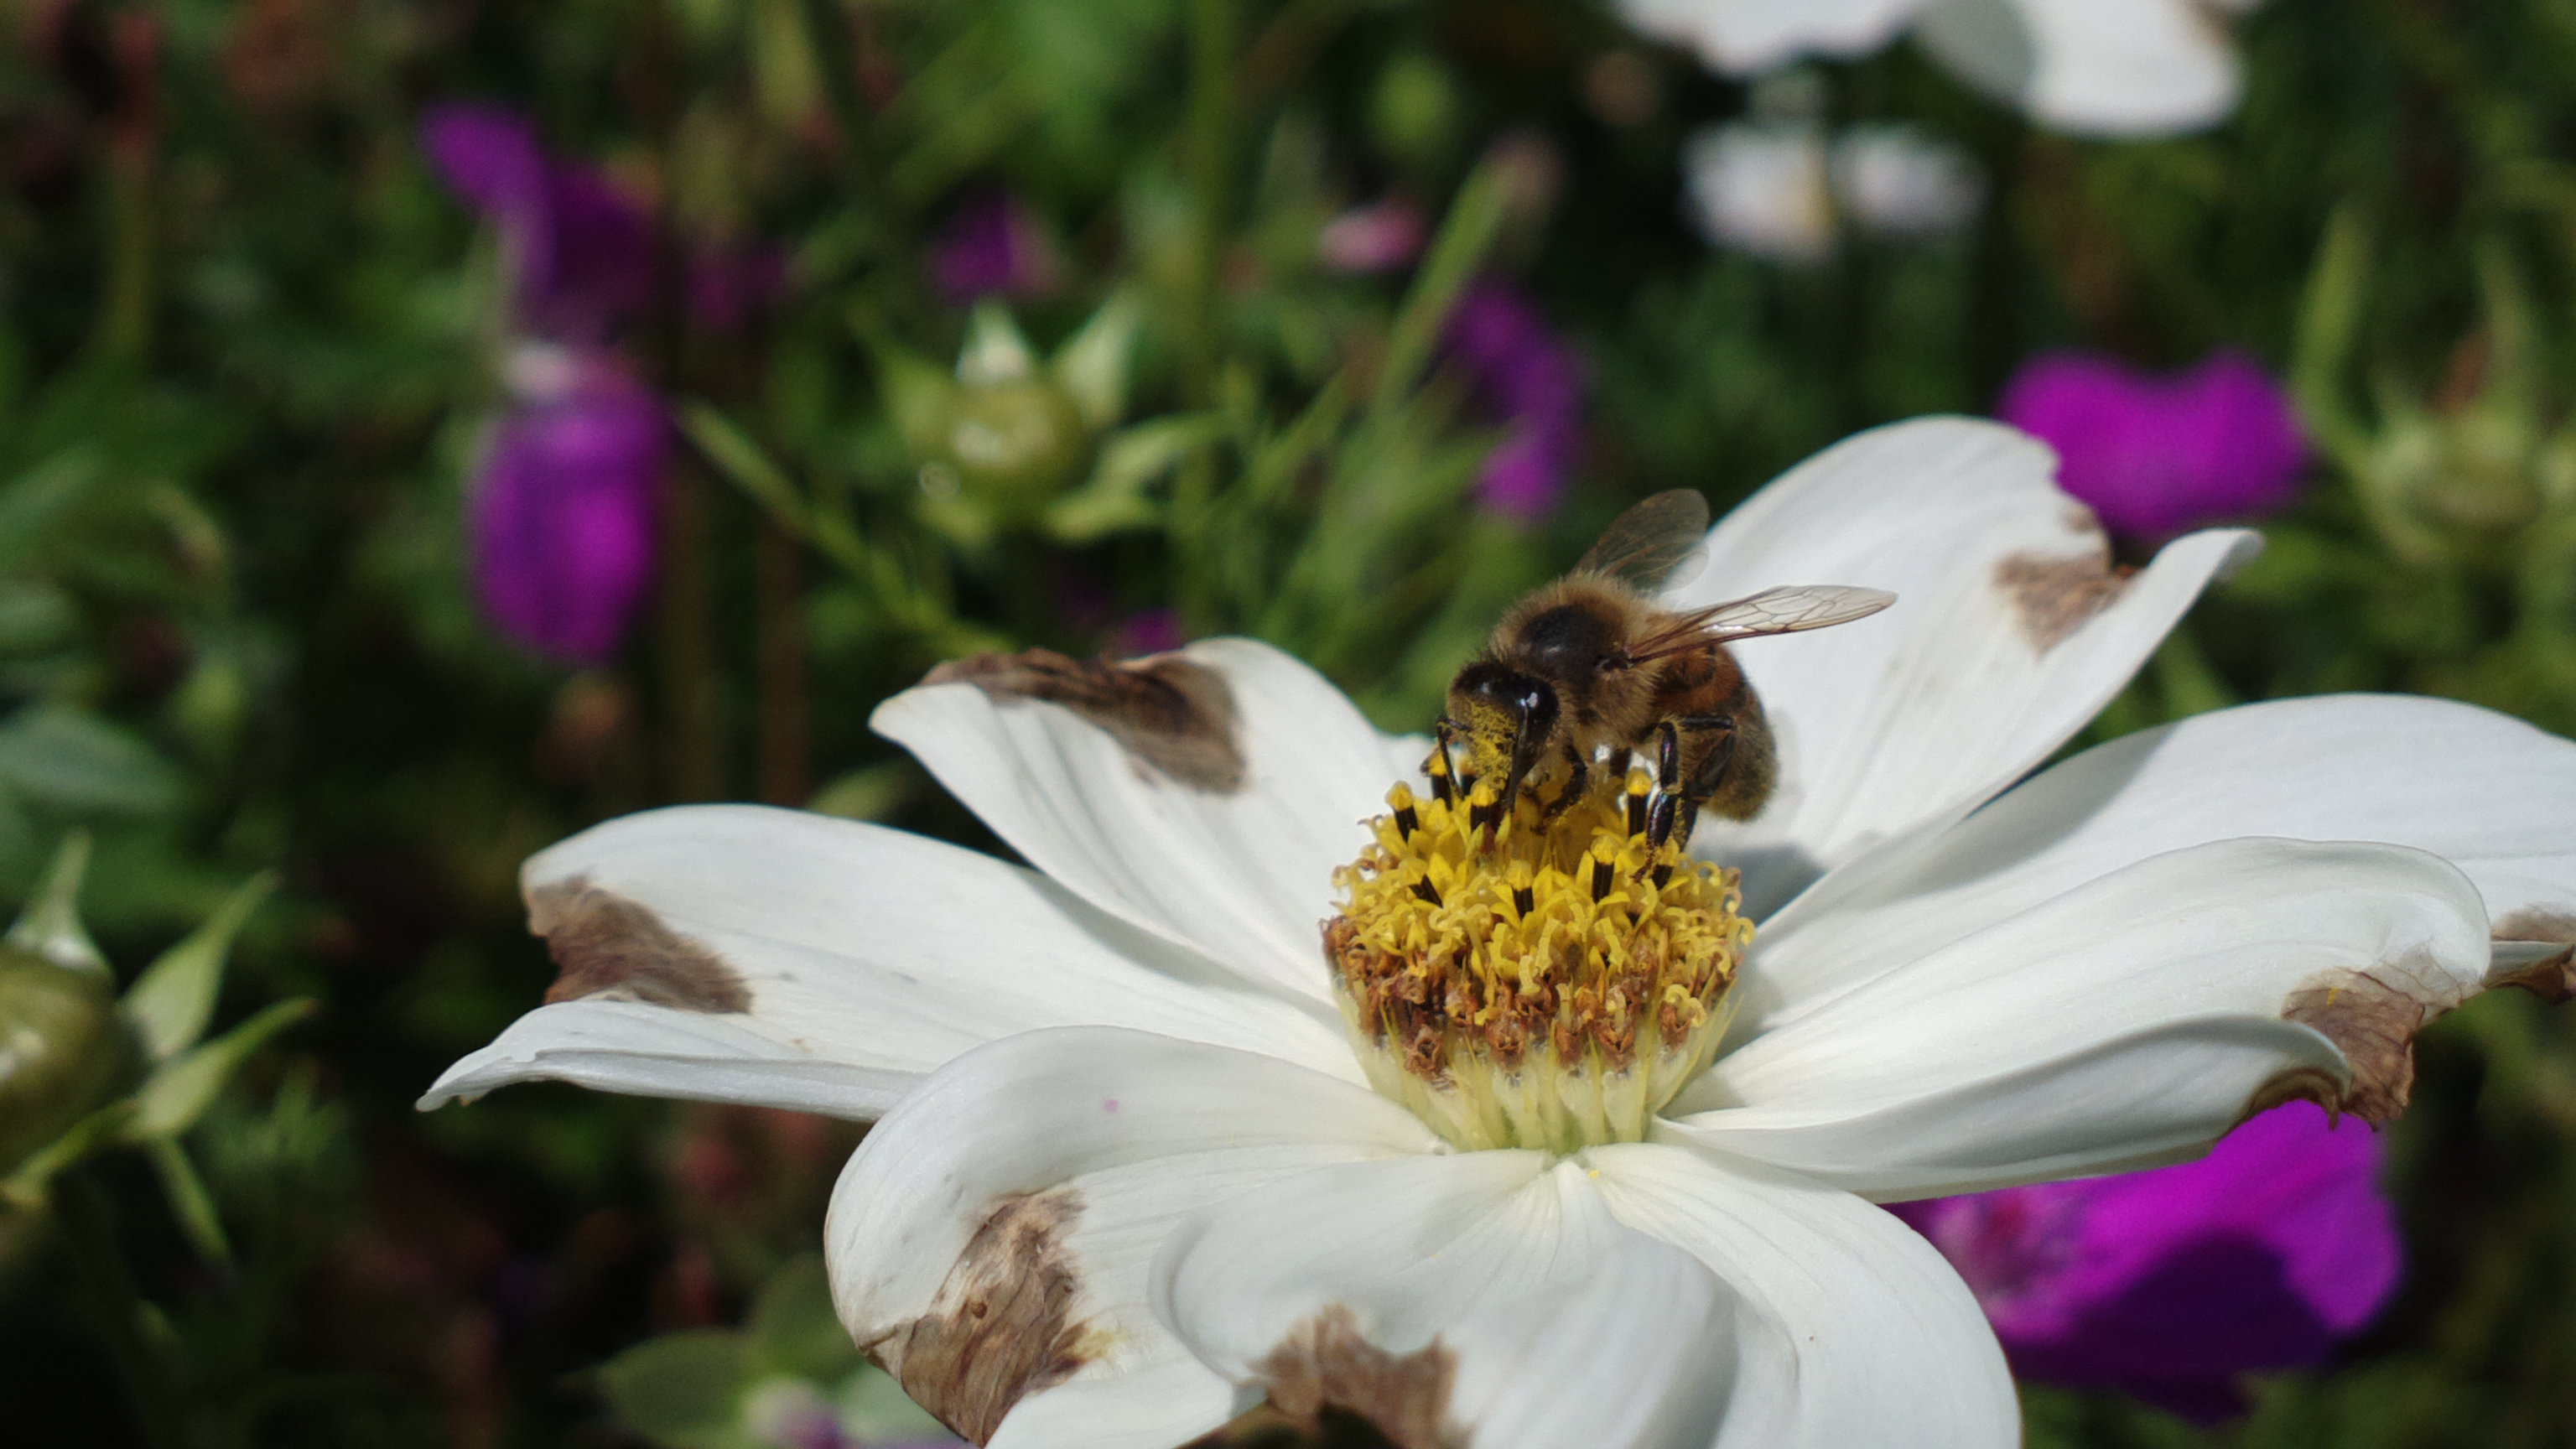
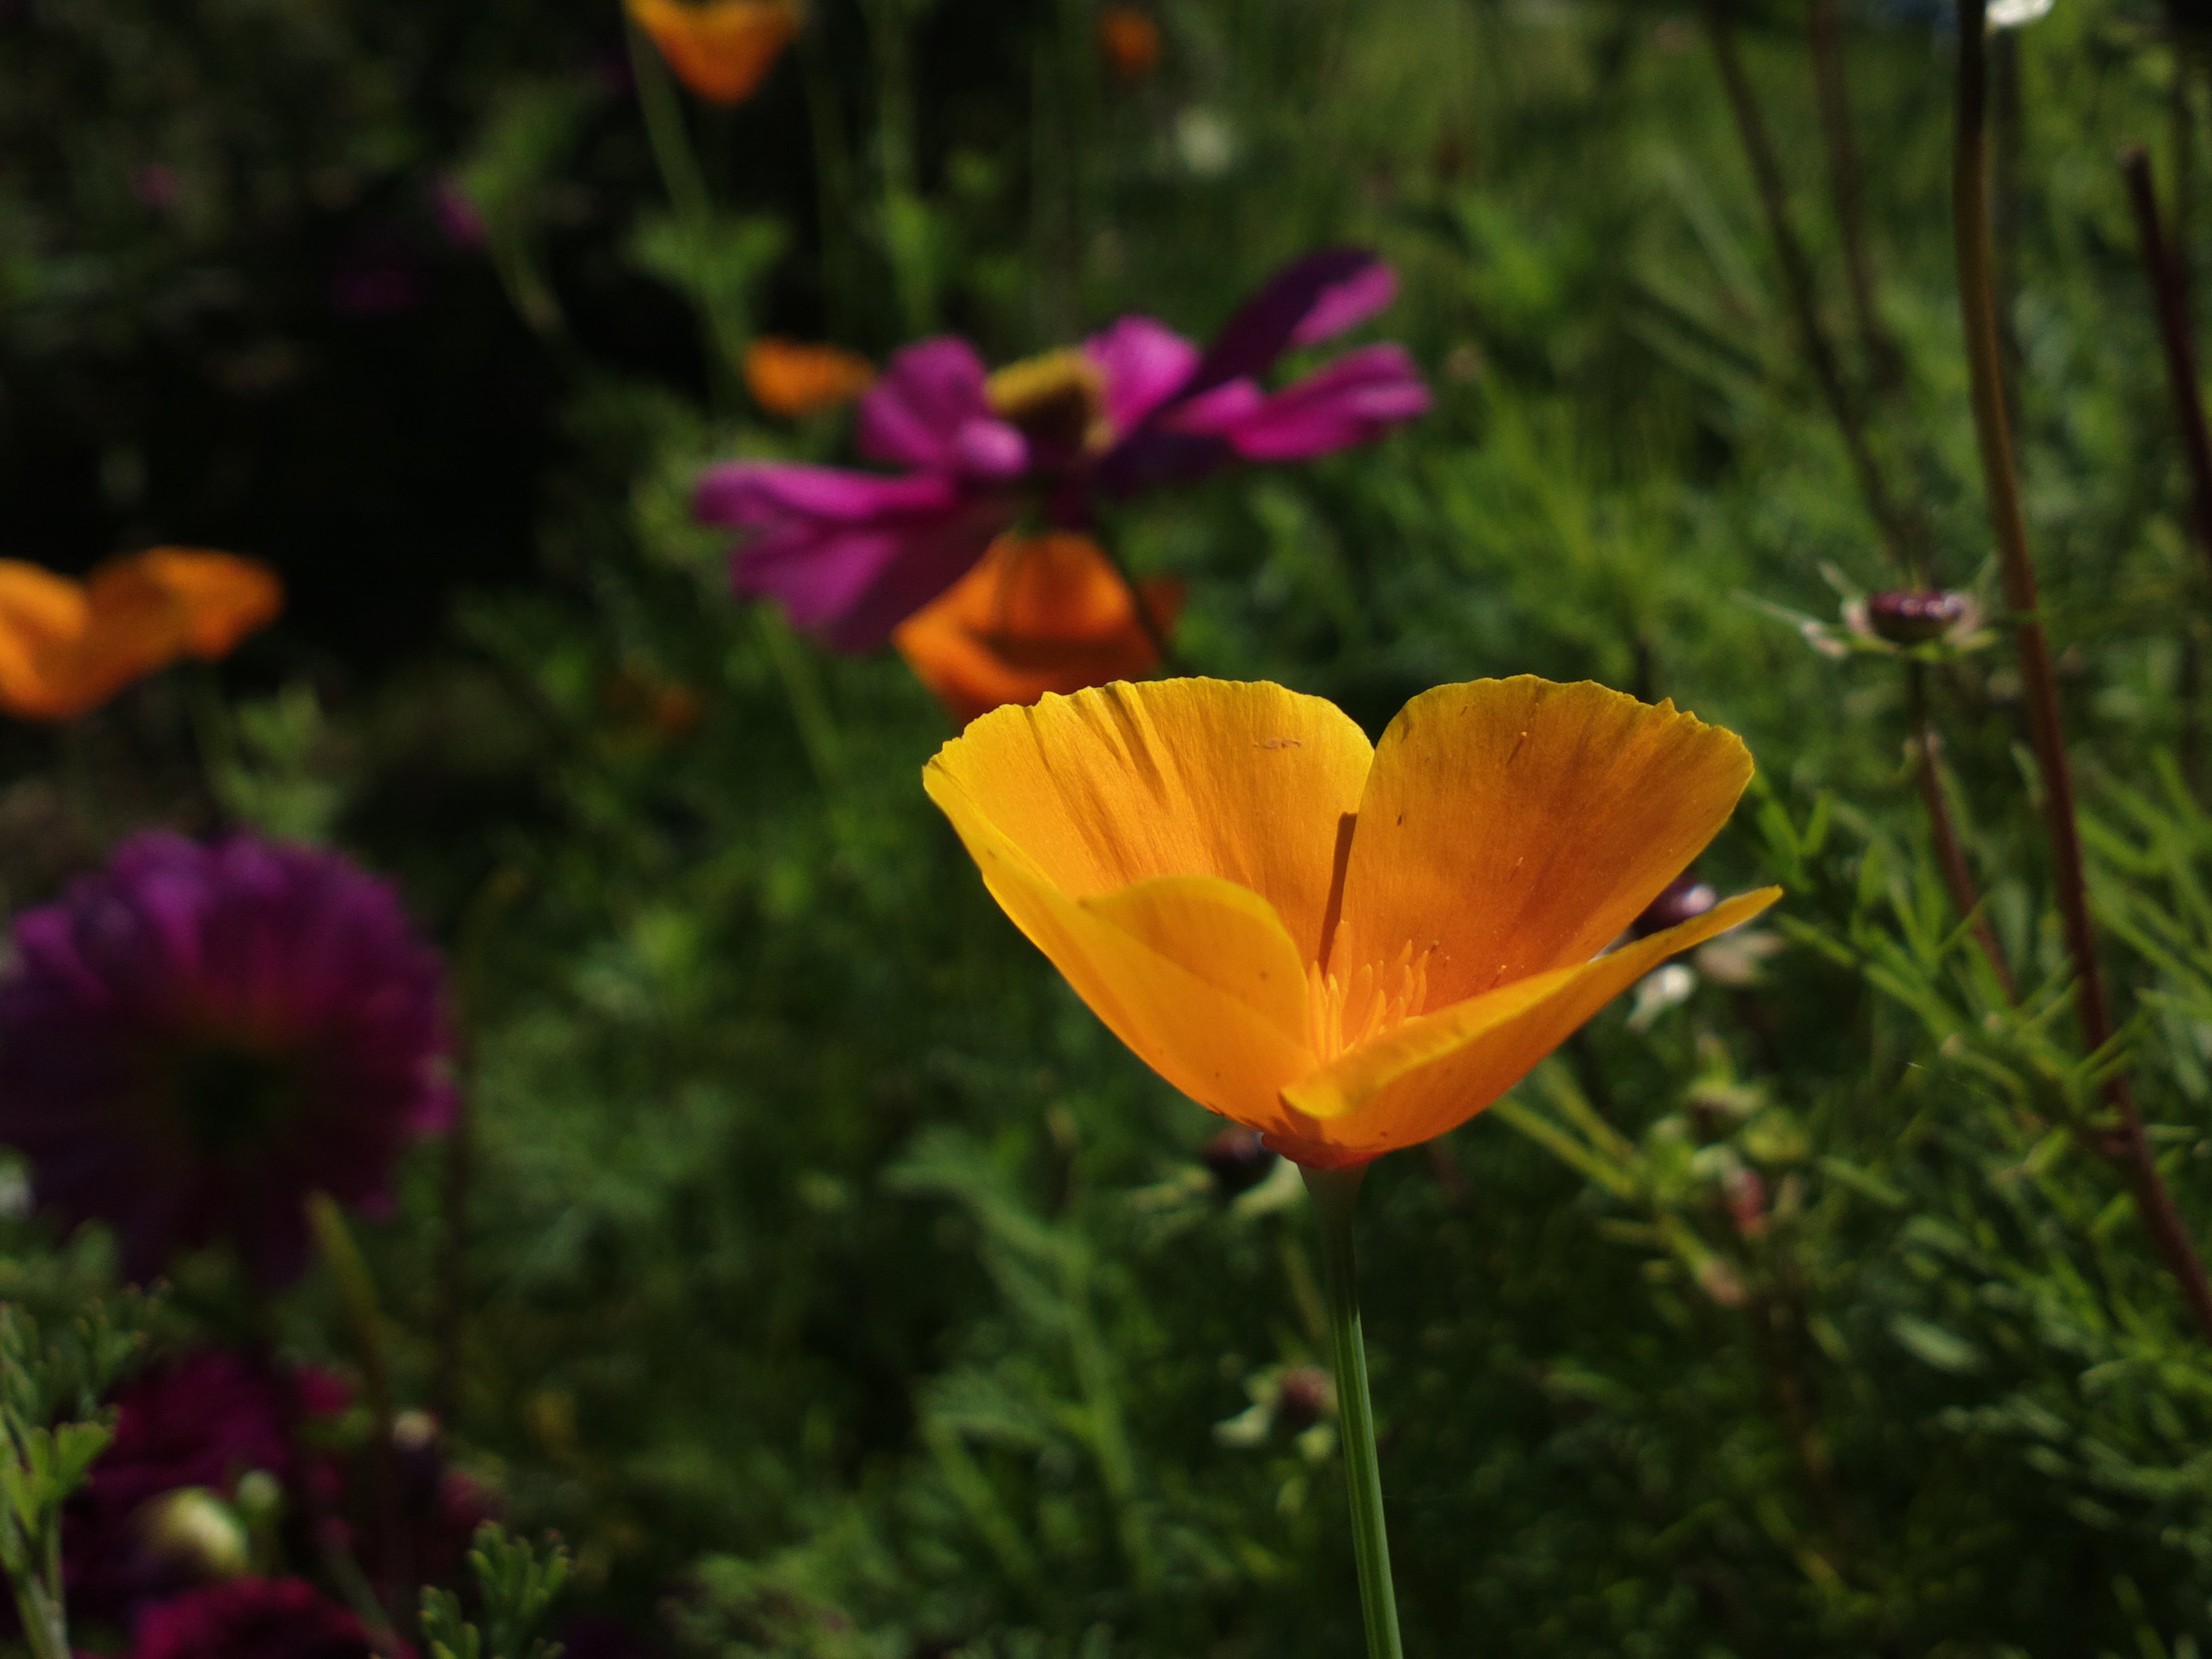
Here are some more 808-shot examples:

In summary:
- Position the subject in as good a light as possible (remember, because you're using the PureView zoom, there's not going to be much oversampling (left), so you're back to needing the very best light) - outdoors, try to get the sun behind you and on your subject and only shoot from different directions unless you really know what you're doing and are prepared to experiment.
- Set Camera into Scenes mode and then tap to select 'Close up' mode.
- Position the Nokia 808 around 15cm from the subject, and use the PureView zoom as needed, so that framing is perfect and so that the bokeh background you want is in play.
- Touch to focus on your subject and make sure you have a (green reticule) focus lock.
- Take the shot with the on-screen shutter icon - with zoom employed, most people struggle to keep the 808 still when depressing the main shutter key all the way.
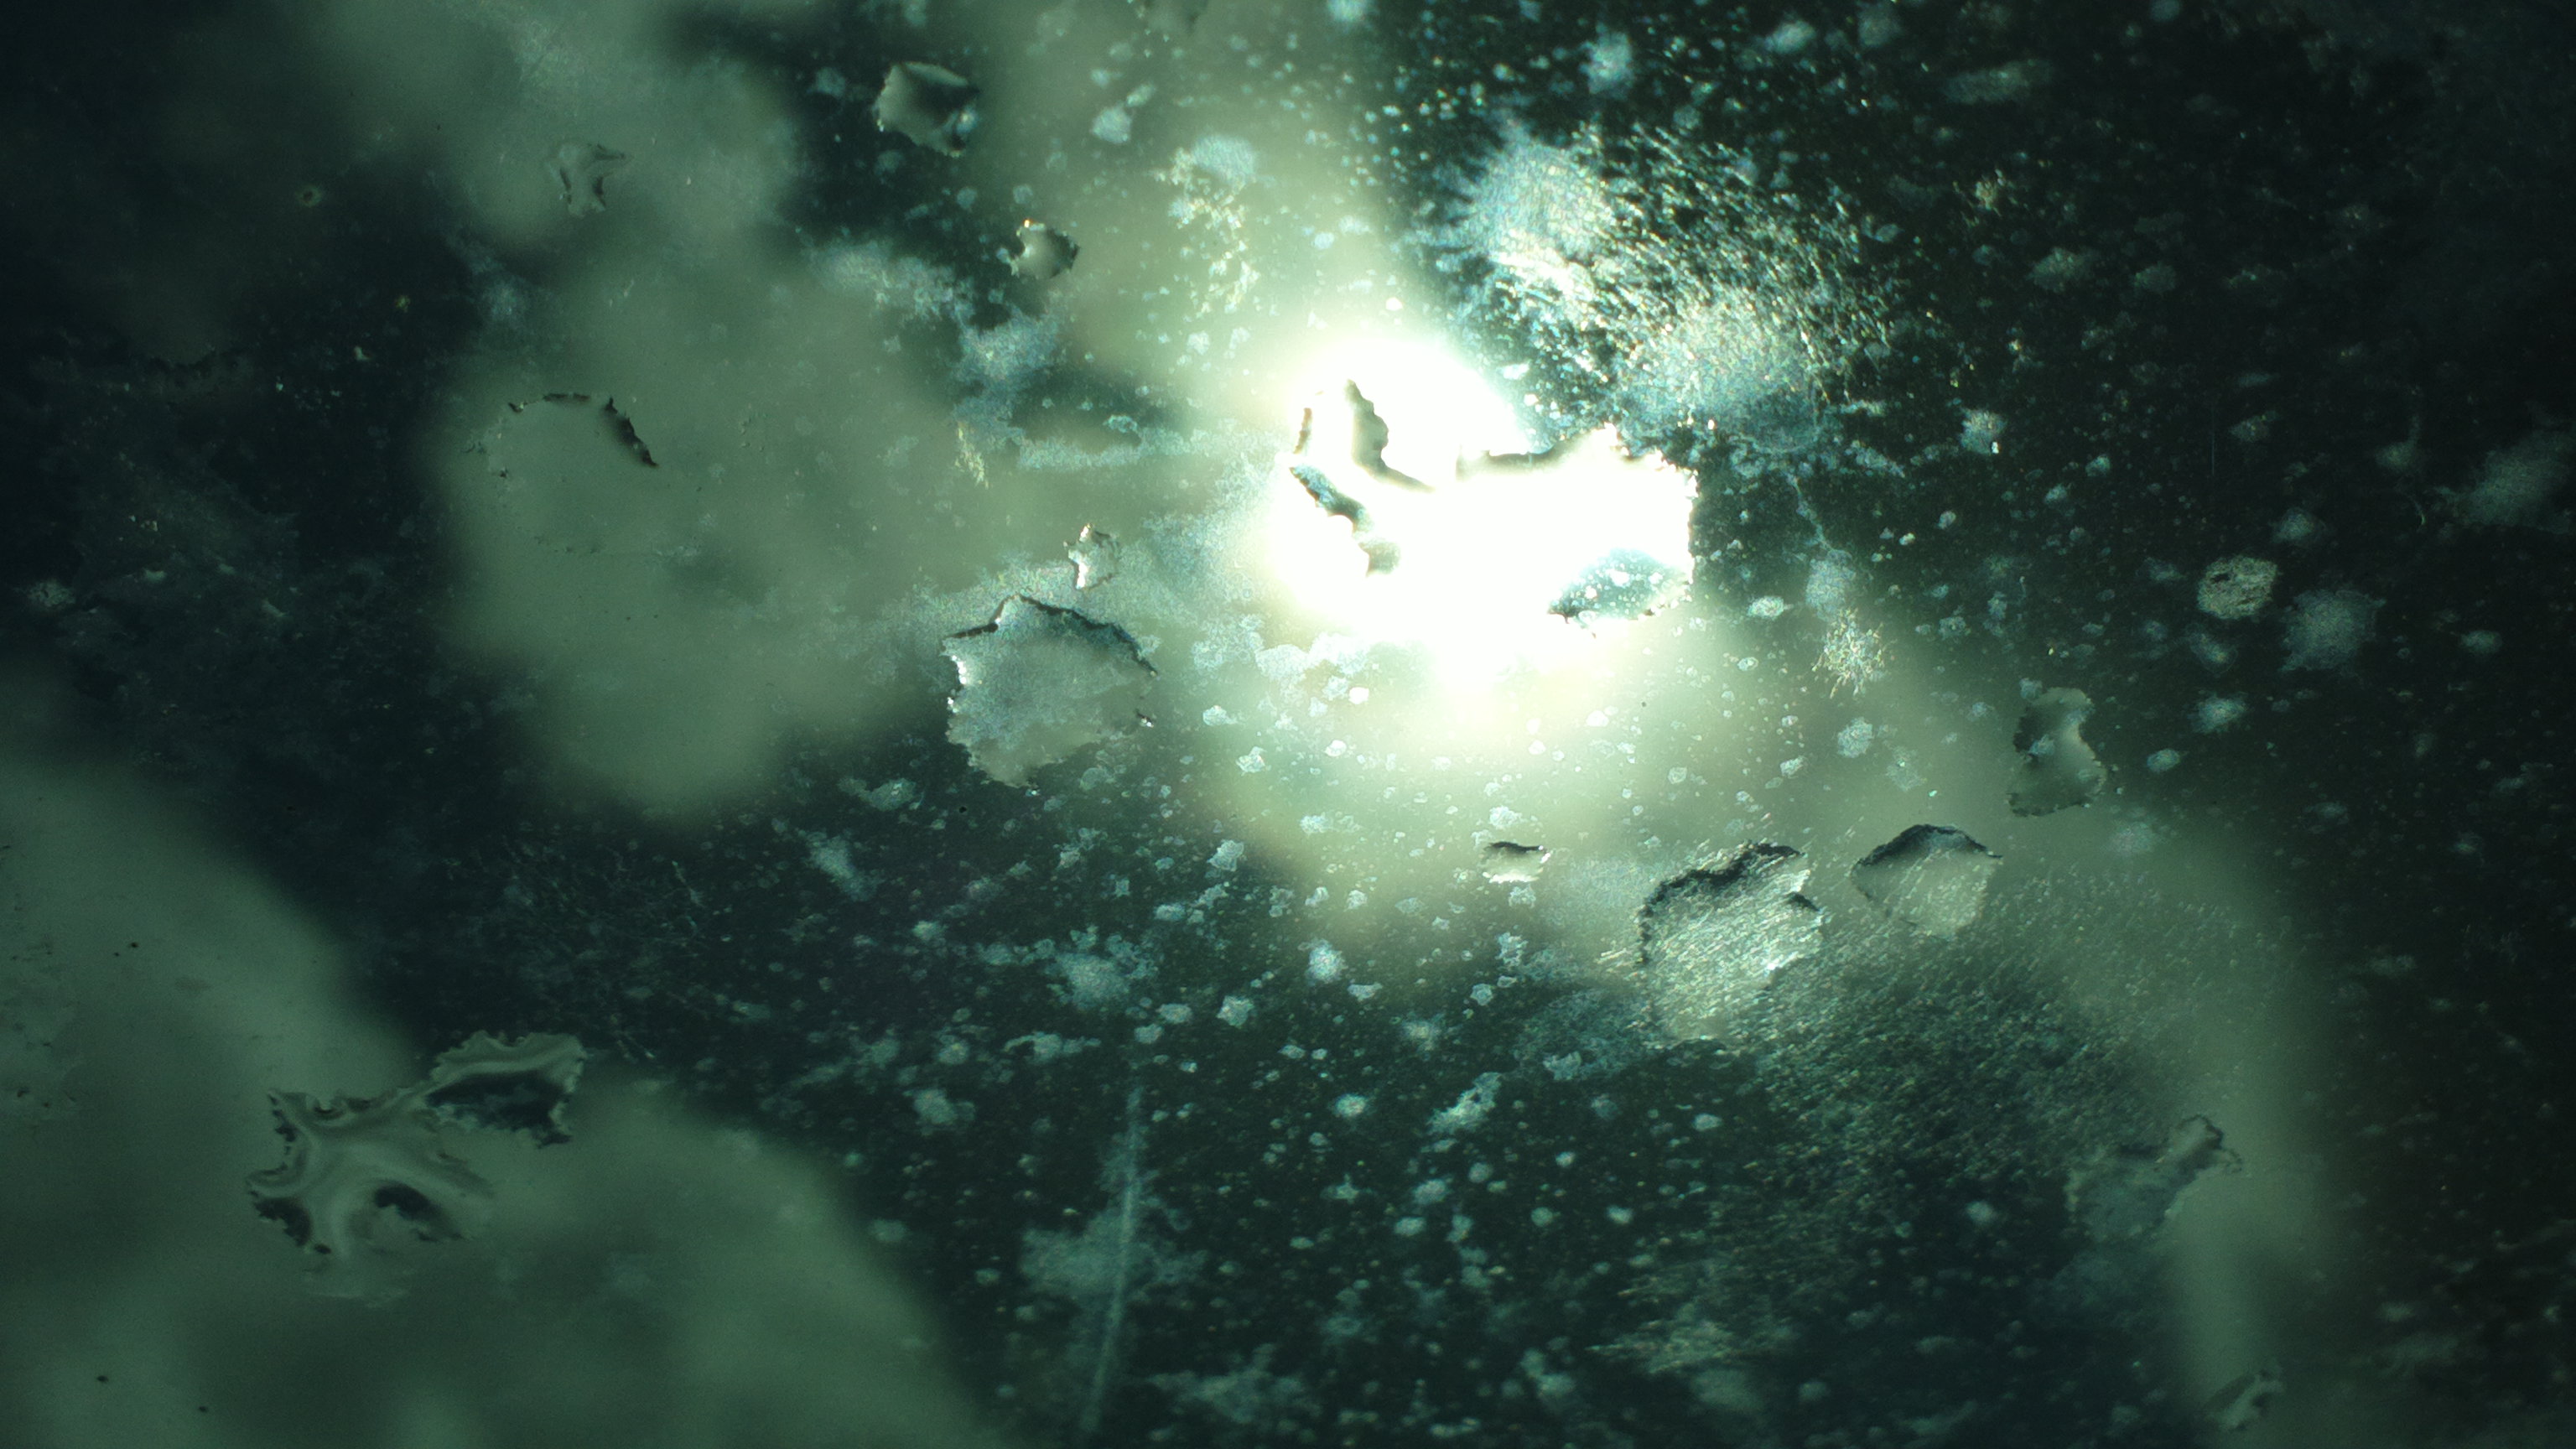
The very fact that you're trying something ambitious with focus and depth of field can produce interesting results as you experiment. Here's a spur of the moment attempt to shoot bokeh of rain splatters on my car's sunroof. Arty, wouldn't you say?
Another valid use of 'bokeh', but in reverse, is when you deliberately focus on the background while leaving the immediate foreground to blur naturally, hopefully framing the main subject in the distance. This is far less common and harder to 'pull off', since most viewers may be put off by the unfamiliar foreground blurring and cast aspersions on your skill, not realising the subtleties of what you were trying to achieve.
I've tried a few reverse bokeh with the Nokia 808, here's one of my dad in part of his (rather splendid) garden (note that the full version isn't available for privacy reasons):

I've only really scratched the surface here of how artistic you can be with bokeh on the Nokia 808 PureView. I'm sure you'll create even better examples. And N8 and N86 owners shouldn't be too put off, the same idea can be used on these smartphones, albeit with no zooming possible, so the depth of field won't be quite so shallow.
No hay comentarios:
Publicar un comentario